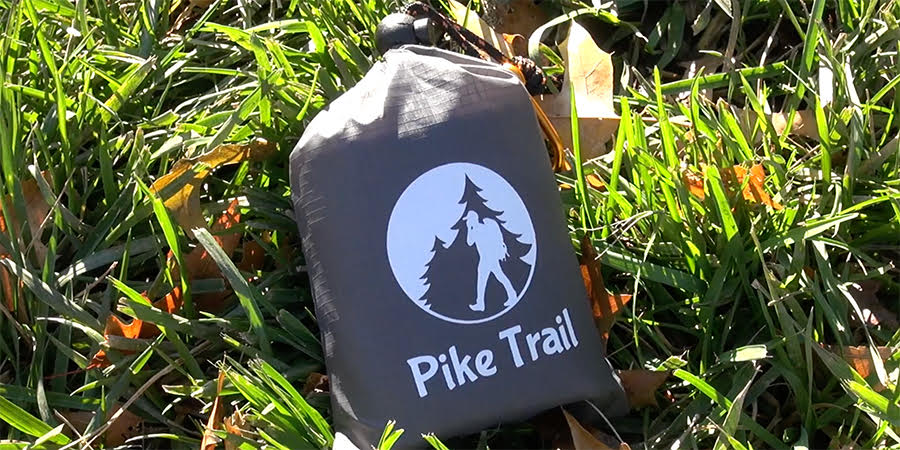
- Build a Solar Still using your Pike Trail pocket blanket
- Construct a Shelter with your Pike Trail pocket blanket
- Rig a Snare
- Get your Bearings by making a Compass
1. A Solar Still is one of the best ways to get water in a dry climate.
Directions:
First find a low, unshaded area on the ground and dig a hole 1 ½ feet deep by 3 feet in diameter (or by the size of your available tarp). Place a can, jar, or water bottle in the center of the hole and cover the hole with your Pike Trail pocket blanket (or any large sheet of plastic, tarp etc.) sealing the edges with dirt and rocks. Put a rock in the center of the pocket blanket directly above the container which will provide a drip point. Moisture will be drawn from the earth beneath the pocket blanket and will condense on its underside. The water will run down and drip into your container. Line the hole with vegetation such as cactus, plants or any other type of greenery to speed up and increase production of H2O. You can expect 1 pint to 1 quart of production daily depending on your climate and the size of the hole.
2. Construct a Shelter
Directions:
Shelter provides an escape from the elements and is necessary for your survival. If you have plenty of water and a solar still is not necessary use your Pike Trail pocket blanket as a Bivouac. Use the tie down loops to fasten it to the ground and angle it toward two trees growing side by side. A Bivouacs reflect a fire’s warmth, serve as a windbreak and provides a roof over your head. Since the Pike Trail pocket blanket is 100% waterproof it will serve as excellent protection from rain, snow and wind. If your pocket blanket is unavailable more work is involved but can still be accomplished without the use of tools by following these 4 steps:
Step 2: Wedge a ridgepole into the lower forks of two closely growing trees. If 2 trees can’t be found one end of the ridgepole can lay on the ground (Although not ideal, this will still provide some protection). You can also support each end of the ridgepole with a tripod of upright poles lashed together around the top.
Step 3: Create a frame by tilting branches or poles against the ridge pole (This looks like a roof that begins on the ground and slants at an angle to the ridgepole). Make it stronger by interlacing boughs through the poles at right angles.
Step 4: Cover the frame with leafy or pine needle branches. Then layer bark, sod or even snow to provide an extra layer of insulation.
3. Rig a Snare
Directions:
Learning how to catch food is pivotal to your survival success. If you should find yourself lost without rifle or fishing pole here’s one way to do it:
Step 1: Use wire, fishing line, twine, strips of leather, or even your shoelaces. If using wire or a stiff material, bend the tip over and twist several times to form an eye. Next, run the wire’s other end through the eye to form a noose. When using more flexible or pliable material such as twine make a loop and close it with a slipknot.
Step 2: Hang the noose so that it suspends head level within a game trail, den hole entrance or other spot that animals look to be using often. Make sure the noose is large enough for the head to pass through but not the animal’s shoulders. The object is for the noose to cinch tight and grab the animal as it is moving fast down its trail.
Step 3: Each snare should be anchored down into the ground by stake or tied tight to a near-by tree. Check your snare frequently but be careful not to disturb the surroundings too much which could alert potential game to your presence.
4. Get your Bearings by making a Compass
Make a compass by magnetizing a needle or any similar object containing magnetized ferrous metal (containing iron). Stroke the needle continually in one direction with silk such as a scarf. Your Pike Trail pocket blanket may work depending on the humidity level. The drier the climate the better chance of creating a static charge. Next place your magnetized needle onto a blade of grass floating in a small puddle of water. The needle will turn and orient itself toward the North and South Poles giving you direction.
Now that you’ve found your North/South direction it’s time to find your East/West direction. First, drive a 3 foot long stick into the ground in a location with sun and set a stone where the tip of the stick’s shadow lies on the ground. Wait 20 minutes and then place another rock in the spot where the tip of the shadow has now moved. The first stone marks the west end of the line running between both stones. The second stone marks the east. Your compass is now complete with all four directions.


