Journal
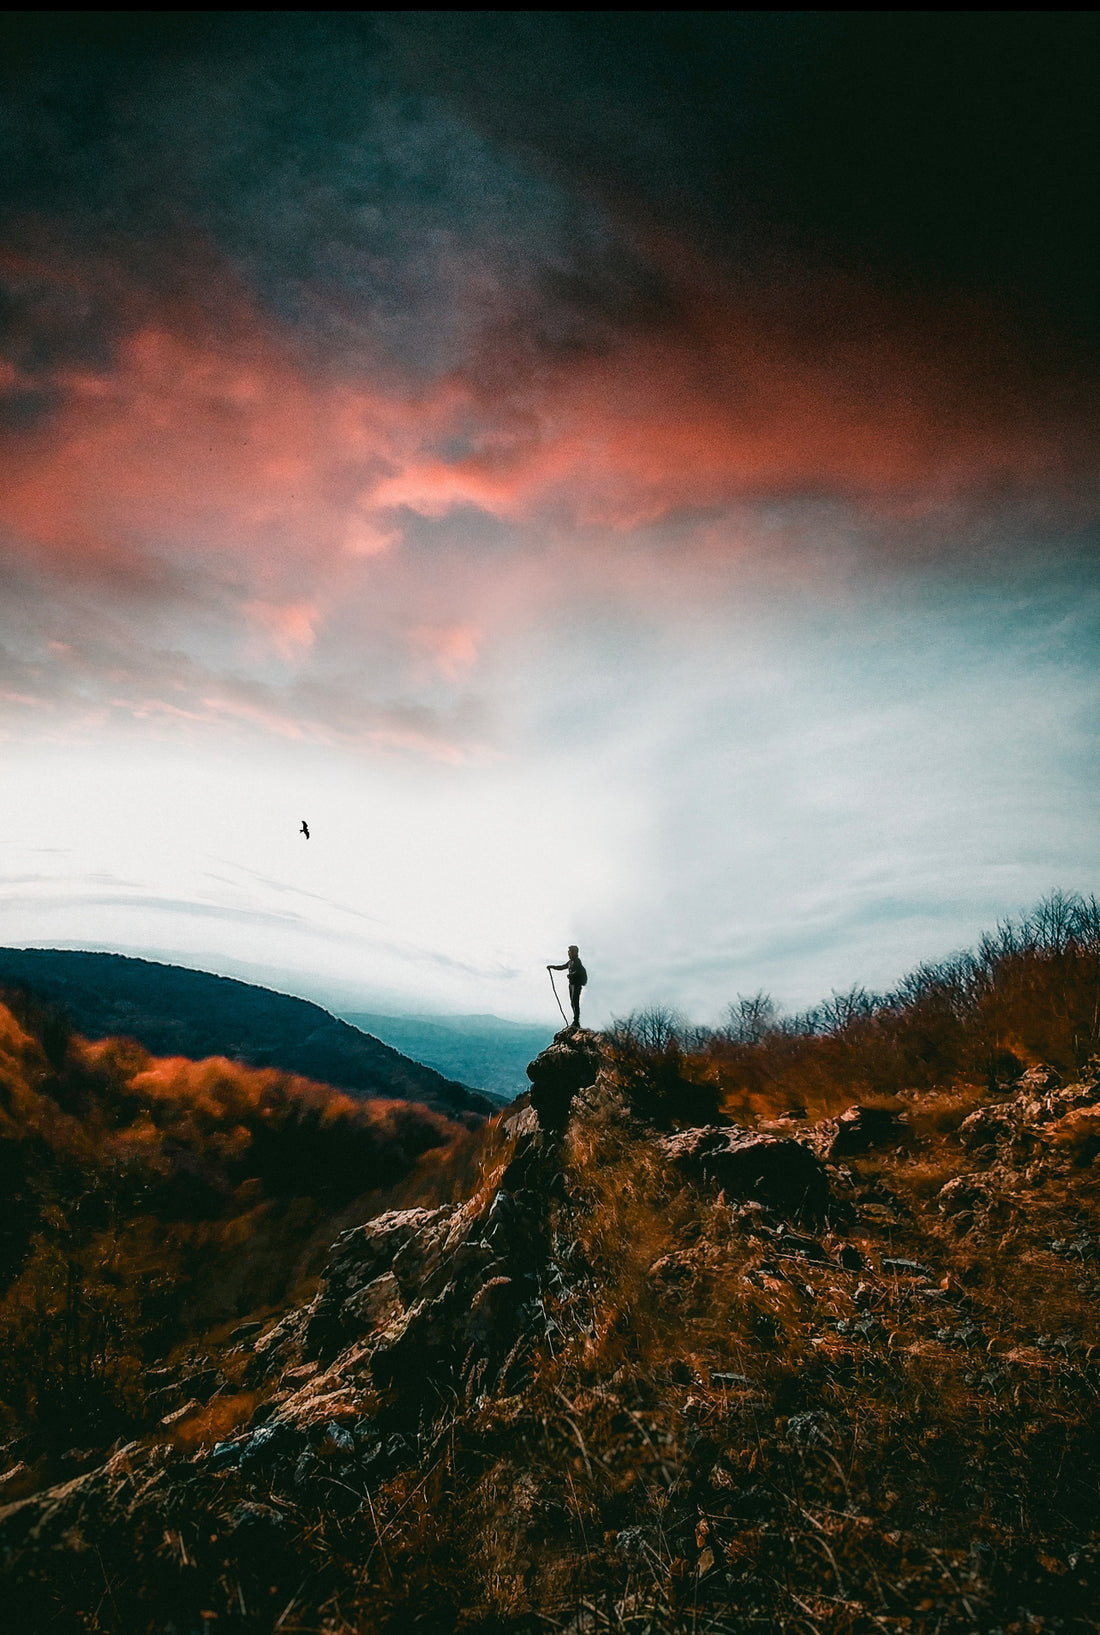
5 Of The Best Hikes In The World
According to the International Federation of Hiking and Mountaineering, there are an estimated 900 million hikers across the globe. And whether you're a seasoned explorer or just a beginner, finding the best hikes in the world can seem like a monumental task. Luckily, however, you have us to guide you—because we have picked out 5 of the best hikes in the entire world. Pick the one that best appeals to your skill level or the kind of sites you want to see—or decide to do them all—then get to packing so you can go outside and celebrate the resplendent beauty of the world around you.
Learn more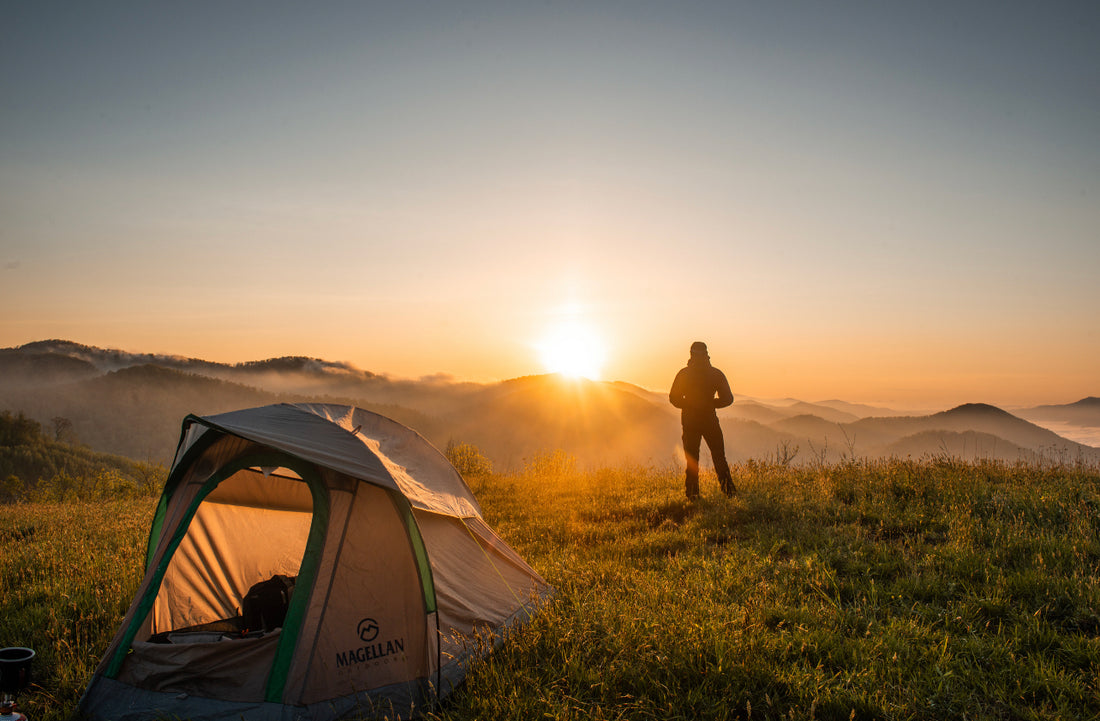
The Best Outdoor Gear for Every Budget
If you are ready to spend more time outside, read our guide to the best outdoor gear below.
Learn more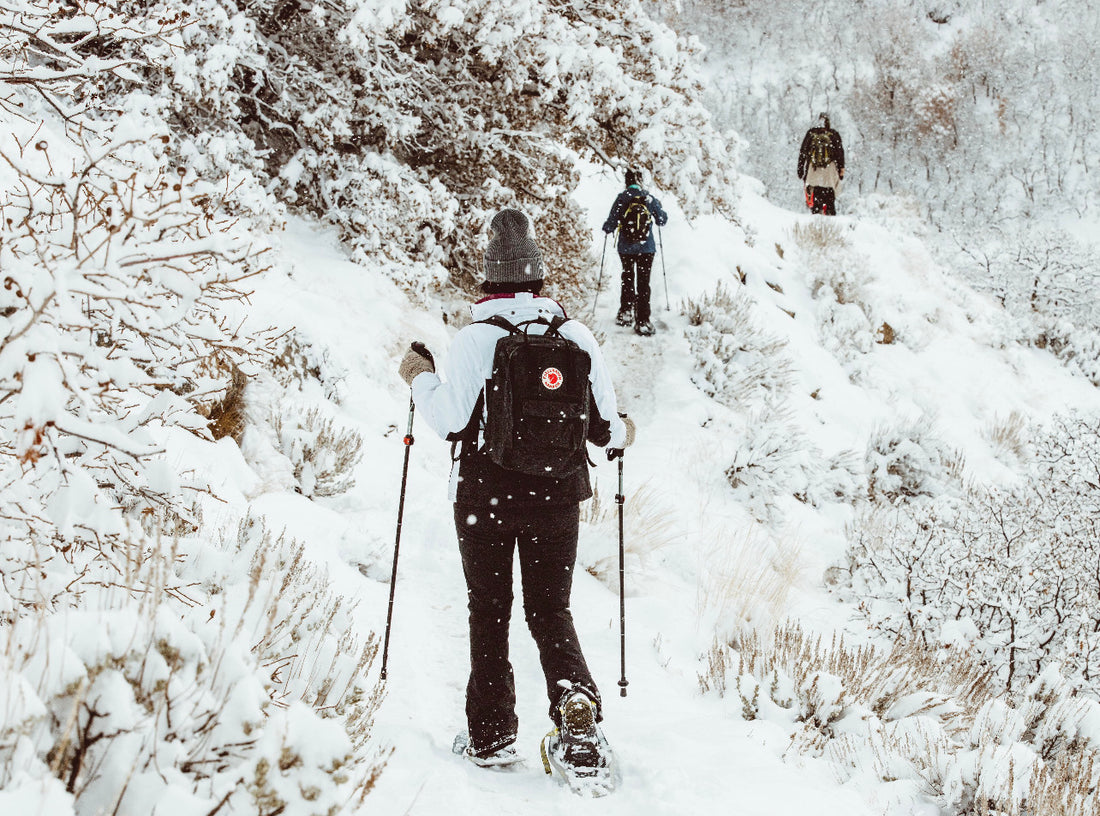
Essentials for Snowshoeing
Do you feel ready to try snowshoeing for the first time? Read our guide to the essential things you need to know and have below. That way, you can ensure that your experience is a fun and enjoyable one, and not one where anyone ends up feeling cold or miserable because they came unprepared.
Learn more
7 Tips to Survive Winter Hiking
There's no doubt about it: winter's here, and lots of people are cozied up inside on the couch with hot chocolate. However, just because there are subzero temps outside, it doesn't mean that you have to give up on spending time in the great outdoors. Winter can be the best and most invigorating time for outdoor activities—especially for hikers.
Learn more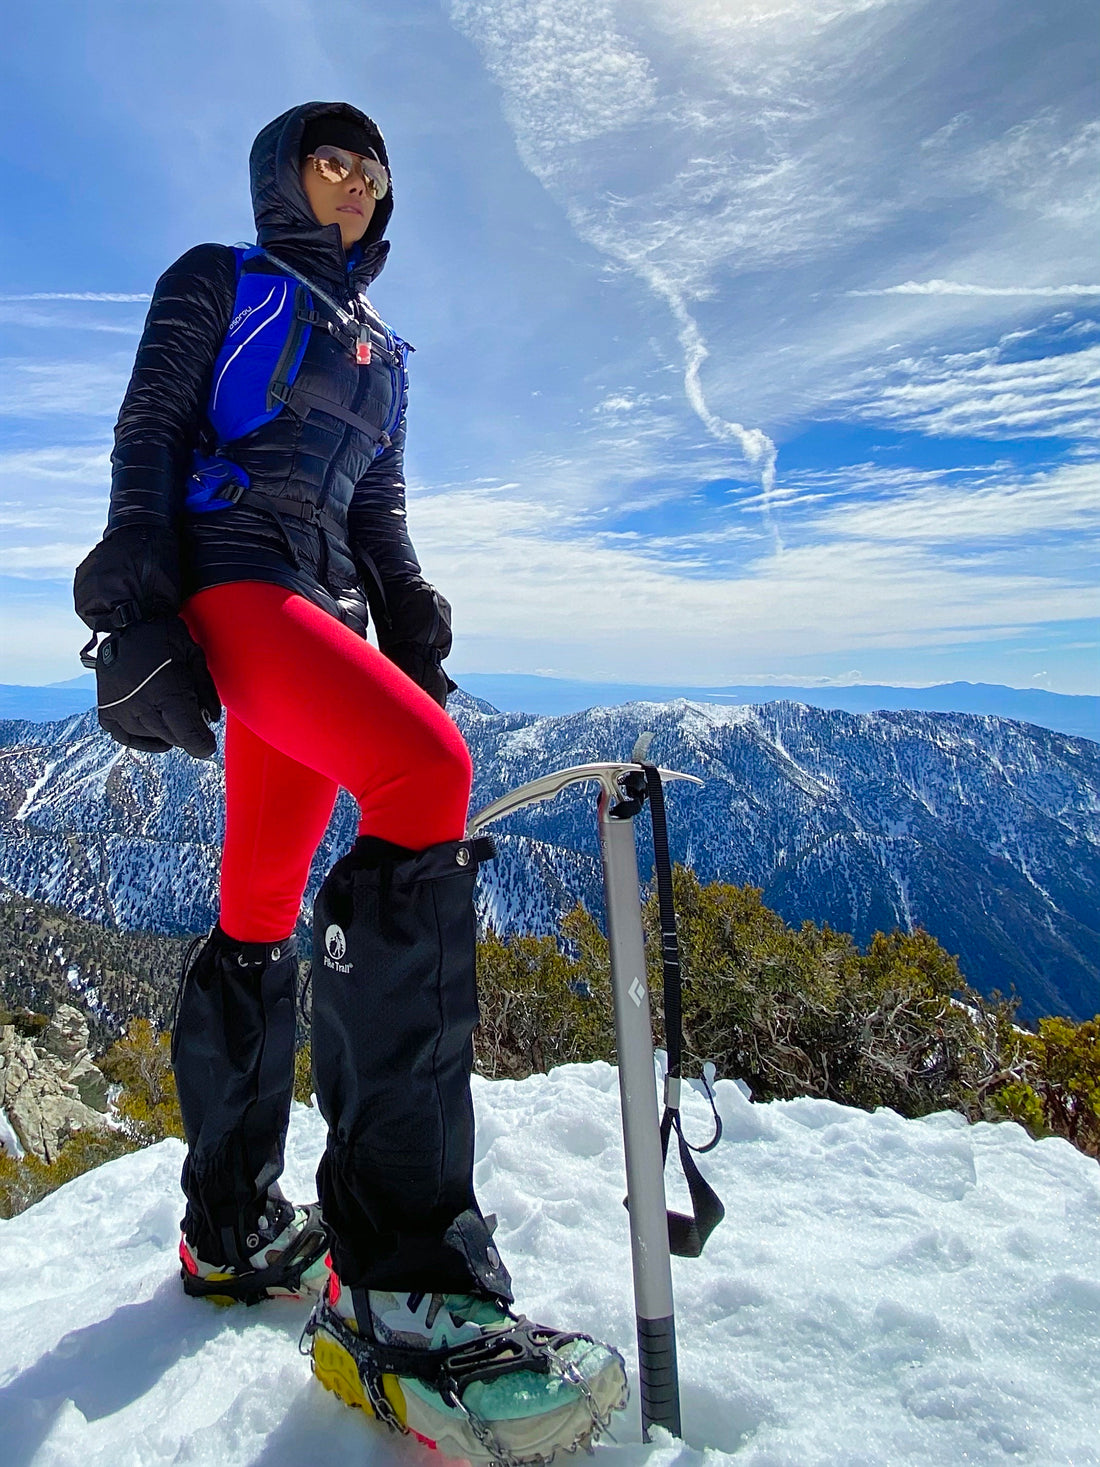
3 Tips To Stay Dry
At the very least, getting wet can can be uncomfortable and make the outdoor hiking, trekking, snowshoe experience less enjoyable. At its worst, getting wet in freezing temperatures can create a serious survival problem. Take a look at these 3 helpful tips to stay dry on your next outdoor adventure.
Learn more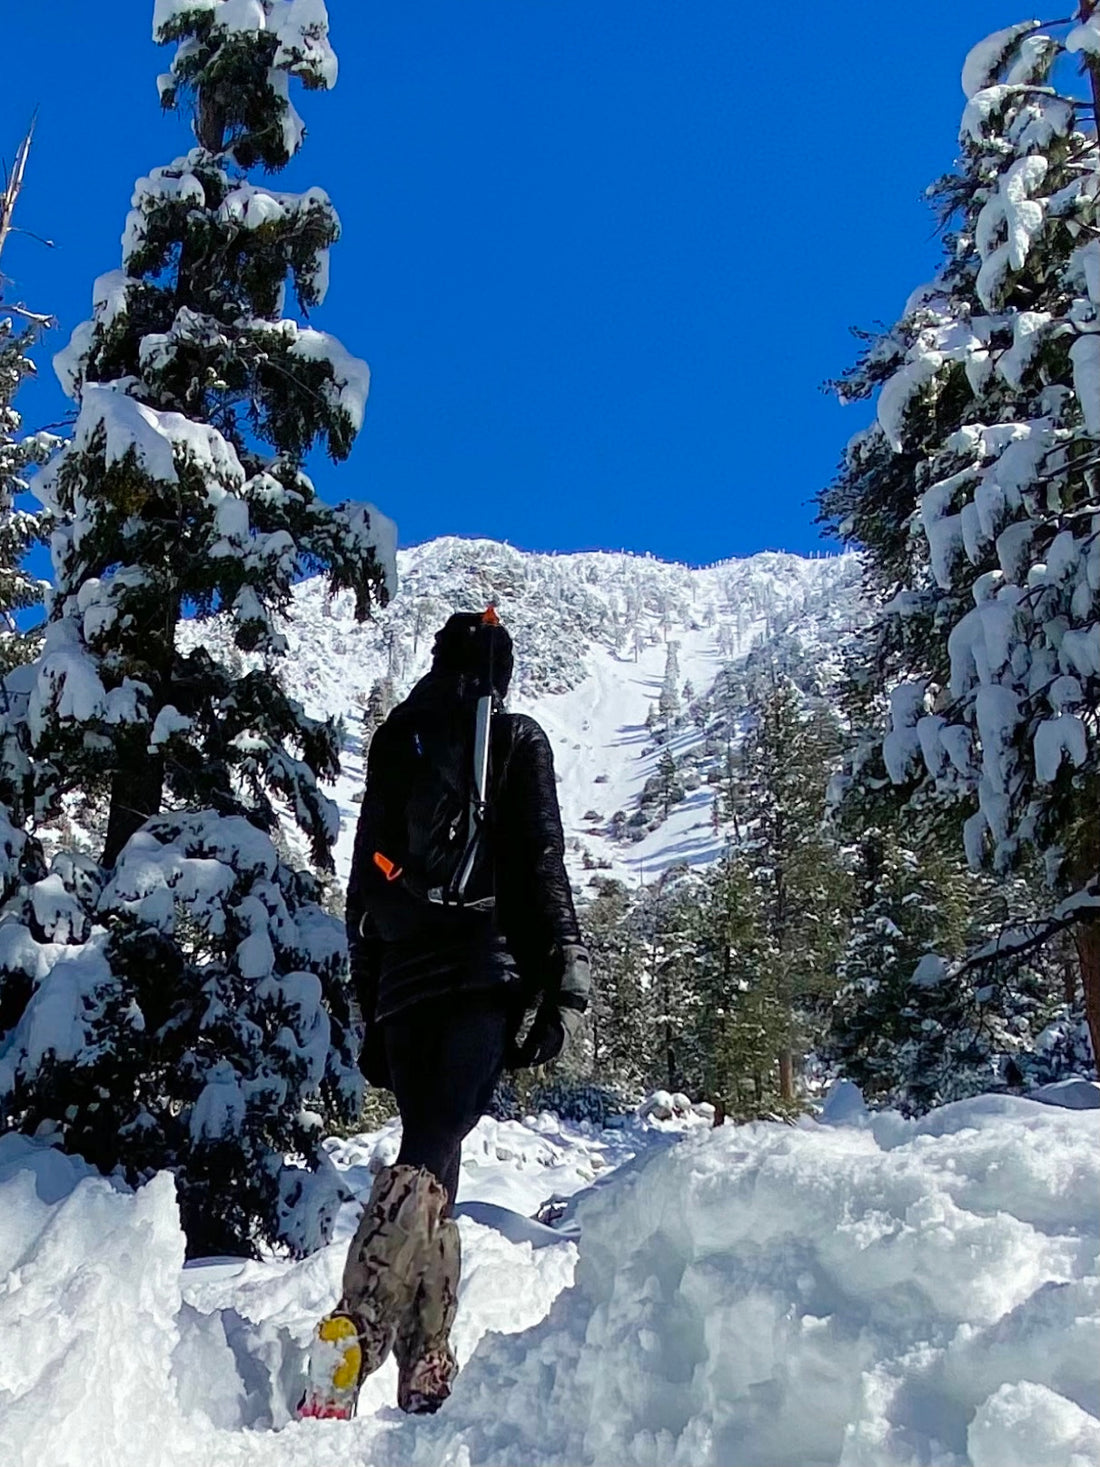
3 Surprising Reasons that You'll Enjoy Winter Hiking Plus the Top Winter Hiking Trails
I know, it sounds crazy to go hiking during the winter. But believe me when I say that some trails are just better for hiking during the winter! In this post, we’ll discuss 3 surprising reasons on why you’ll enjoy winter hiking.
Learn more

To the Roof of Africa with Iron Pauly
Mt. Kilimanjaro – Volcano in Tanzania, Highest Peak in Africa, Tallest Free-Standing Mountain in the World We recently caught up with four-time Ironman 70.3 World Championship qualifier and two-time 70.3 World Champion racer, Paulene Williams, a.k.a. Iron Pauly, after her recent summit of Mt. Kilimanjaro to find out more about her experience scaling the tallest mountain in Africa. Pike Trail: What were your motivations on making this climb? Iron Pauly: Well, this has always been on my bucket list. With the pandemic putting racing on hold, I thought it would be the perfect time to train to do this climb. I’d have the time to switch sports for an entire season! But more importantly, I wanted this to mean more than me. I met Daisy and Mike from Working Dogs for Warriors at their 9/11 memorial ride in 2020 and learned more about what the foundation was about. So I wanted to raise money for them.This was the “bigger” meaning. The higher calling for making this climb. To raise awareness in the fight against PTSD… to raise money for the foundation towards funding a puppy for a vet. And so many things came through while doing so. We did get a puppy donated to the foundation and also raised some money through the generosity of our community. Pike Trail: Awesome! We wouldn’t be able to enjoy our freedom without the sacrifices our veterans have made. They served us and now it’s really great to have a way to give back to them. We really applaud your efforts in supporting this worthy non-profit organization. If others would like to donate, where do they go? Iron Pauly: You can go to their website: http://www.workingdogsforwarriors.com/ Pike Trail So please tell us about your experience climbing the tallest peak in Africa. What were the highlights, and lowlights of your journey? Iron Pauly: Wow. Where do I start? Most unforgettable. Spiritual and soul-searching. Magical in some moments, and definitely a test of grit. Africa is so beautiful. Easy to fall in love with, hard to forget.I documented each day of the Kilimanjaro journey on my Instagram @ironpauly in detail - so my followers can see and feel what I saw and felt, and also so I could always look back and remember.What I didn’t disclose until I got back was that during this journey, I was diagnosed with chronic pancreatitis. I’ll quote what I wrote on IG. But to explain, with pancreatitis, the digestive enzymes that would normally travel by tubes inside your pancreas and empty into your upper intestine, become trapped inside your pancreas. This causes pain and scarring. The trapped enzymes slowly cause severe damage to your pancreas.Symptoms of chronic pancreatitis are:•Severe belly (abdominal) pain that may be constant or that comes back•Pain in the upper belly that spreads into the back•Pain in the belly that gets worse when you eat•Nausea and vomiting•Weight lossThrough the weeks leading up to Kili, up until the day before I left, my doctors were busy conducting tests… CTs, MRIs, and bloodwork to ensure it was safe for me to climb. I was cleared to climb but was cautioned that I would be in pain and may have to seek medical help for it. And so I was in severe pain very early into summit day which was a 14 hour day. Go into my IG and read the account of my battle with the pain and panic… it was pretty intense there for a hot minute. I was in severe pain, snow blind, near hypothermic, dehydrated too. Hahaha.But my partner, my guides, they helped me get through it. It takes a village. We got through it. And it was amazing. The roof of Africa… 19,341 feet was spectacular. Pike Trail: Tell us about the Weather and overall Climate Conditions? Iron Pauly: Well, to say it was cold is an understatement. It was -4° F plus wind chill. Winds were steady at 20-25mph. Our water bottles froze. Our water bladders and water hoses froze.We survived on a few sips of hot tea from a hot thermos our guide brought up from his pack. We didn’t stop but twice for a quick sip. We couldn’t and didn’t want to stop for fear of being too cold and hypothermic. When it’s that cold, you wanna keep moving. Pike Trail: Brrrrr.!! How long did it take? Iron Pauly: 4 days up, one day of acclimatization at 13,900 ft, 2 days down.Summit day was almost 14 hours. It took 7 hours to summit from base camp, then 2 hours and change to descend to base camp. We had lunch, packed camp, had a short nap, and descended to lower camp to prevent acute mountain sickness.Pike Trail: Just incredible. How long did you train for this trip? Iron Pauly: Well, I started training officially in the winter. So maybe around December, for the June 25 summit. I think I bought my tickets and then wrote my plan. Hahaha! Pike Trail: What gear did you use? How did you decide on this gear? Anything you wouldn’t pack again? Iron Pauly: Wow. That’s tough. Kilimanjaro is tough. The mountain is so steep, you go through five ecological zones to get to the summit. One thing that was a staple every day was my Pike Trail gaiters!!! Check out my photos. I wore them every day. From the rain forest to the alpine Desert, to the rain, sleet, and snow!!! Gear included: Pike Trail Hiking Gaiters La Sportiva Hiking Boots 30L Osprey hiking pack with 2.5-liter bladder Lululemon Long sleeve base layer (light on warmer days, heavier ones on colder days) Lululemon light 750- fill down jacket Eddie Bauer 750-fill heavy down jacket (summit day) Lululemon fast and free tights Merino wool socks Pike Trail trucker hat on warmer days Lululemon beanie on cold days 3M heated gloves for summit day Chemical hand warmer for summit day Rudy project defender sunglasses I tried them all in training - so I’d pack them again. But if I were to go back, I’d probably bring another jacket and rock the Michelin man look on summit day. Hahaha! I was freezing!!!! Pike Trail: Talk about the people that did the climb with you. Maybe share some experiences that you had with the locals. Iron Pauly: Ah. Is this the part where I cry? You want me to cry huh? Ugh. Ok. Well, let’s not do that. I will give you a brief background…. Daniel and I have trained together for a few years now. I told him about this trip and (he may kill me for telling the public about this) over wine, he just went ahead and booked everything to go with me! (Not the first time, btw). Sorry, Daniel!! Anyway, we have a way of pulling each other through the dark side of racing and training when we are hurting, having been each other’s race Sherpa and training partner for a few years. So when things got hairy for me at Kili, he knew exactly how to get me through it. I’m grateful he was there. John, our guide, Ndemi, our assistant guide, were just top Notch. They were prepared, selfless, and knew the mountain like the back of their hands. We had the absolute best team on that mountain. Ok, I’m already emotional so I’ll just give you an excerpt from my IG recount of summit day. And I’ll leave it there…. “I, I, I ….” I say in absolute panic, hyperventilating, and unable to take a breath… I stop and turn around and try to say it again, unable to form the words, unable to take in a breath…. I felt like an animal had ripped my stomach open and a large rock had crushed my entire chest…. I had been fighting this pain for hours and I was losing the battle…. My pupils fully dilated in terror… I look at Daniel in desperation …. “I, I, I….” Again, not forming the words. I was in complete distress….. Help me, my brain called out. The wind was howling. I was fading. My Brain screamed again, Help. He was steady. Calm. “What can I do? What can I do? You’re ok. What can I do?” And it was the calm to the chaos within me. It woke me up. It gave the Warrior in me one more fight. I was experiencing pain very early, and with no words exchanged, my guide John would reach his hand behind him to help pull me up every time we had to step up. Sherpa in every sense of the word. What can I say? It takes a village. I couldn’t let my Warriors down. I couldn’t let Daniel down. I couldn’t let my family down. And no, I wasn’t about to let my inner Warrior down. I had been fighting the pain for 5 hours. Yes, I had one more fight left in me….. So I go back to the Dark side, where the darkest and most evil of your demons lie….. pain, self-doubt, uncertainty, and yes, the evilest of them all…. quit. And I go into battle…. Bloody, battered, weary…. But unwilling to die. Not today. Snowblind, in pain, near hypothermic, and almost at a crawl’s pace… Temps at -4 degrees, winds relentless at 20-25mph…. With my patient guides and my steady partner by my side, we make one final push to Stella Point, and then to Uhuru Peak. I had taken the American flag from California to the roof of Africa at 19,341 feet. The tallest free-standing mountain in the world. This is for my Warrior Family…. Pike Trail: Whoa Serious Chills there!! I’m out of questions after that - anything else you want to add? It’s certainly been the most unforgettable experience for me. Having summited the tallest free-standing mountain in the world. Experiencing it with one of the most special people in my life. But more importantly, I am so humbled to have been a part of such an outpouring of love from a community that wanted nothing more than to give back to our nation’s heroes. Someone so special donated a service puppy to the foundation! A service puppy! Who, by the way, has been awarded to a vet already! And countless people donated to the cause. That’s what really matters; that people made a difference. My cup runneth over.
Learn more
Leg Gaiters — Protect Your Legs and Ankles While Trail-Running or Hiking | NewsWatch Review
Consumer UpdateIf you’ve ever gone hiking or camping, and if you’re doing it right, you’ve packed a number of vital accessories, tools, and gear.While this is an important step in making sure you are ready for whatever nature might throw at you, carrying too much can be quite unwieldy. If that’s the problem, then Pike Trail is the solution.Pike Trail only designs and produces pocket-sized outdoor gear. Their packable gear is Proudly Designed in Columbia, Missouri. Perusing their site, you’ll see convenient products like pocket blankets and sleeping bag liners.One of their most popular products is the ultra-compact hiking gaiters. Gaiters protect your legs and ankles from the elements. Leg Gaiters - Protect Your Legs and Ankles While Trail-Running or Hiking | NewsWatch Review from NewsWatch Television on Vimeo. They can be worn for nearly any type of outdoor activity, whether it be trail running, snow-shoeing or hiking in the snow with crampons.An adjustable drawstring allows a tight fit around your calf, while the length can be adjusted with a buckle. Easy to get the perfect fit, no matter your height.But what really makes these hiking gaiters unique is their rugged design. These bad boys were built to last no matter what Mother Nature throws at them.Their durable polyester layers prevent water, snow, dirt, and debris from dirtying or damaging your clothes. And their anti-tear polyester won’t rip and offers protection from the elements.The buckles are made with stainless steel and have velcro tape and metal press studs to ensure they are easy to put on and stay in place throughout your entire hike. And keeping in true Pike Trail fashion, they come in a lightweight and compact carry bag, so you’re able to pack them without taking up too much valuable space or weight.Of course, you still want to look good which is why there are plenty of color options to fit your preference. There’s Digital Olive Drab ARMY Camo and the very cool DEFENSE FORCE CAMO – basically, you’ll have gaiters to match your gear and your personality.They come with an adjustable drawstring that fits around your calf, while the length can be adjusted with a buckle.So they’ll fit anyone of any height. Beyond the gaiters, Pike Trail offers other lightweight products that you’re going to want to check out, like their pocket blanket and sleeping bag liner.You can purchase your gaiters or any other Pike Trail products by heading to PikeTrail.com or on Amazon today.
Learn more