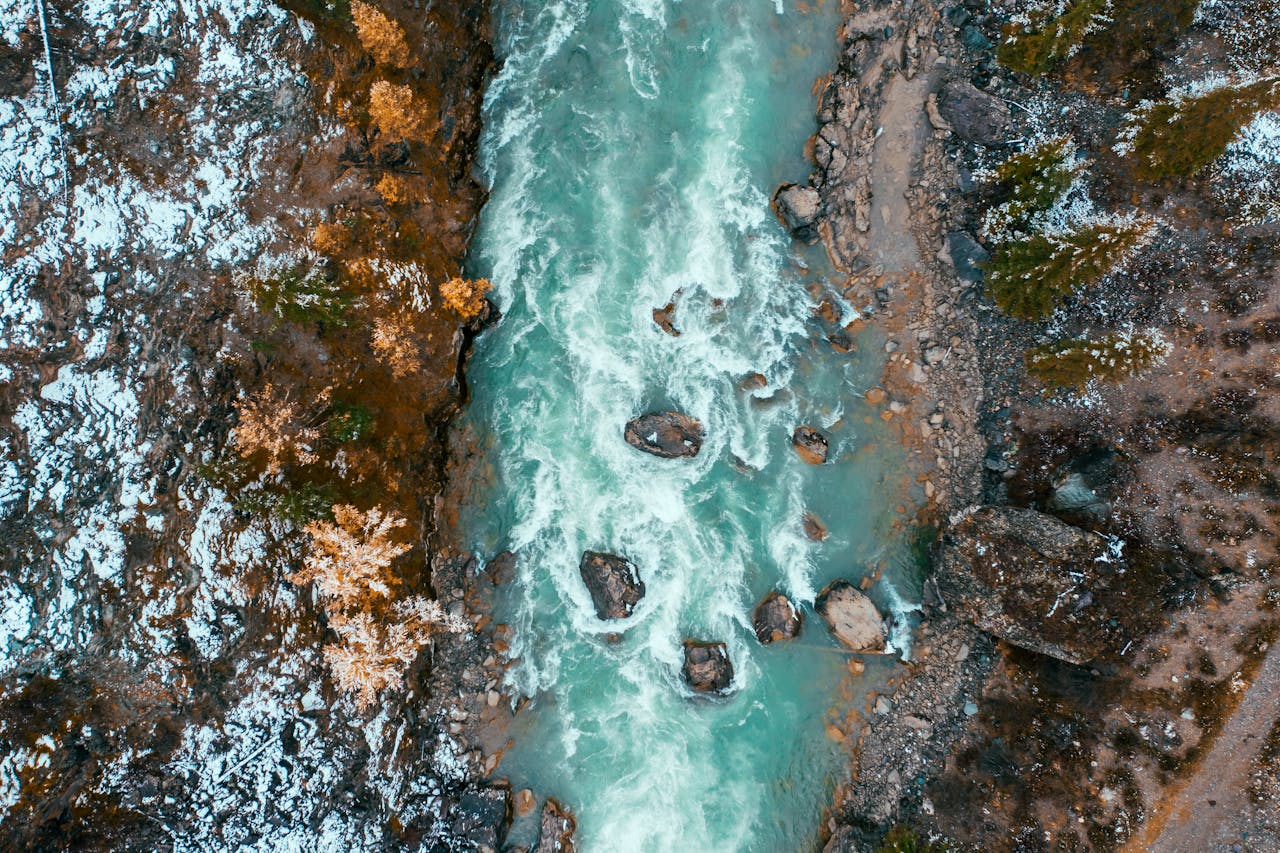
Photo by Mikhail Nilov: https://www.pexels.com/photo/aerial-view-of-a-rocky-river-7432588/
River crossings are often a necessary part of navigating remote trails. Whether you’re backpacking through the backcountry, exploring wilderness areas, or trail running in rugged terrain, the ability to safely cross rivers and streams can be the difference between a smooth adventure and a dangerous situation. This guide will provide a detailed look at various techniques for safely crossing rivers, recommended gear, and how to assess water hazards to keep you safe during your adventures.
Assessing River Hazards: What to Look For
Before attempting a river crossing, it’s critical to evaluate the conditions to ensure it’s safe to proceed. Consider these factors when assessing water hazards:
1. Depth and Speed of Water: Fast-moving water even at shallow depths can be dangerous. As a general rule, if water is deeper than your knees or flowing faster than you can comfortably walk, it’s best to find an alternate crossing point or wait for conditions to improve.
2. Obstacles and Submerged Hazards: Look for boulders, logs, or large debris that may be hidden beneath the surface. These can cause tripping or pinning hazards.
3. Riverbed Composition: Assess the type of terrain beneath the water. Slippery rocks, loose gravel, or muddy bottoms can affect your stability.
4. Water Temperature: Cold water can sap your strength and lead to hypothermia. If you’re dealing with icy waters, limit your exposure time and use proper insulation.
5. Exit Points: Ensure that there is a clear exit point on the opposite bank. Avoid crossing if the bank is steep or covered in dense vegetation, as getting out may be difficult.
6. Time of Day and Weather: Water levels can rise quickly due to rain, snowmelt, or tides. Check weather conditions and avoid crossing in the late afternoon or evening when river levels tend to be higher.
River Crossing Techniques
1. The Single Hiker Technique
Ideal for shallow, slow-moving water. Face upstream and cross at a slight angle, leaning into the current. Use a sturdy trekking pole or staff to probe the water and maintain three points of contact with the riverbed.
Tip: Place the pole slightly upstream to brace yourself against the current.
2. The Buddy System
Best for moderately challenging crossings with a partner. Stand side by side, linking arms or holding onto each other’s packs. Face slightly upstream and move in unison, using each other for stability.
Tip: The upstream person should be slightly behind the downstream partner to deflect some of the force of the current.
3. Tripod Technique
For solo crossings in deeper or faster water, use two trekking poles or a single pole with a large stick. Place both poles in front of you and move one foot at a time, ensuring three points of contact with the ground at all times.
Tip: Keep your body low and lean into the poles to maintain stability.
4. The Pack Float Method
In deep or strong current where walking across is risky, remove your pack and attach a dry bag or buoyant object to it. Push the pack ahead of you as a flotation device, and use a swimming motion or dog paddle to move across the river.
Tip: Keep your pack unbuckled in case you need to release it quickly.
5. Using a Tensioned Line
For particularly difficult crossings with a group, use a rope to create a safety line. Secure the line on both banks, and cross hand-over-hand while facing upstream. This method should only be used by experienced hikers with proper equipment and knowledge of rope rescue techniques.
Tip: Position the rope above waist height and never wrap it around your body.
Recommended Gear for River Crossings
1. Trekking Poles or a Sturdy Staff: Essential for maintaining balance and testing the depth and stability of the riverbed.
2. Quick-Dry Clothing: Wear synthetic or wool clothing that retains warmth when wet and dries quickly.
3. Water Shoes or Sandals: Avoid crossing barefoot. Use water shoes or lightweight sandals with good traction to protect your feet and improve stability.
4. Gaiters and Waterproof Socks: In colder climates, these can help prevent water from entering your boots and keep your feet dry.
5. Water Resistant or Dry Bags: Use waterproof dry bags to protect electronics and other essentials in your pack.
6. Rope and Carabiners: If traveling in a group, carry a lightweight rope and carabiners for securing packs or creating tensioned lines.
7. Microspikes or Crampons: For slippery, icy crossings, these can improve traction on submerged rocks.
Safety Tips for River Crossings
- Cross at the Widest Point: Wider sections are usually shallower and slower than narrow, deep channels.
- Unbuckle Your Pack: Keep your hip and sternum straps unbuckled to allow for a quick release if you fall in.
- Don’t Fight the Current: If you slip and get caught in the current, don’t panic. Float on your back with your feet pointed downstream. Swim at an angle towards the shore when possible.
- Turn Back if You’re Unsure: If the crossing feels dangerous, trust your instincts and find another route or wait until conditions improve.
Final Thoughts
River crossings can be one of the most daunting obstacles on a trail, but with the right knowledge and preparation, they can be managed safely. Assess the conditions carefully, use the appropriate technique for the crossing, and always prioritize safety over speed. With these strategies and tips in mind, you’ll be better equipped to navigate rivers and streams in remote locations, making your wilderness adventures safer and more enjoyable.
Happy trails!